In the previous tutorial, i have done the train tensor model for image classification. Here, let start to convert Tensor protobuf (.pb) to lite file. This lite file is important that allows you to port this file to use on Mobile or Embedded devices.
For me, convert Tensor protobuf (.pb) to lite file not as easier as a lot of tried with different converter tools and environments such as codelab, Linux, bazel etc. A lot of problems met before such as failed to compile Toco script, Android App will be crash once run with compiled lite lib.
Anyway, finally, I have succeeded to convert Tensor protobuf (.pb) to lite file and able run properly on Android phones.
Environment: Asus Rog Laptop Strix G running Windows 10 Home
1. Create folder, e.g: TensorTrain_heng
2. Download Python Script below and put inside this folder, "TensorTrain_heng"
i) google_images_download.py : Link
ii) retrain.py: refer the previous tutorial

2. Open command prompt inside this folder: TensorTrain_heng.
3. Download "durian" image file by run this command:
python google-images-download.py --output_directory "fruit" --keywords "durian" --limit 30 --format jpg
3. Download "durian belanda" image file by run this command:
python google-images-download.py --output_directory "fruit" --keywords "durian belanda" --limit 30 --format jpg
4. Rename all Image, example:
From:

To:

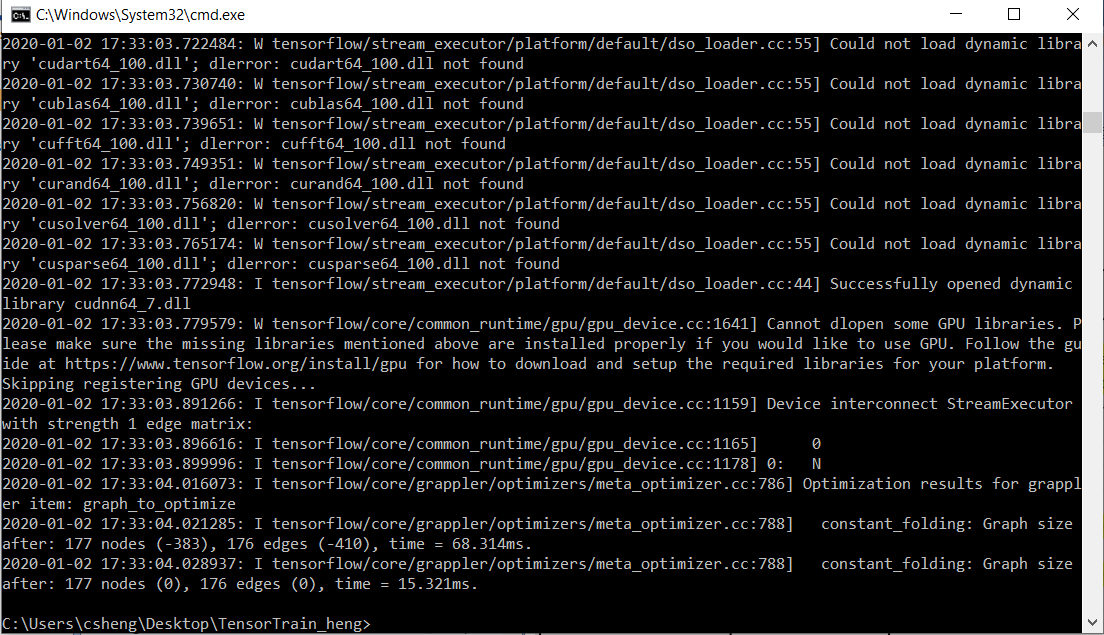
6. Run retrain command :
python retrain.py --image_dir=tf_files/fruit --bottleneck_dir=./output/bottlenecks --how_many_training_steps=500 --model_dir=./output/models --summaries_dir=./output/training_summaries/"mobilenet_0.50_224" --architecture="mobilenet_0.50_224" --output_graph ./output/output_graph.pb --output_labels ./output/output_labels.txt --saved_model_dir ./output/saved_model
7. Now you can see that the pb file which located on output folder was ready.

8. Now can convert the pb file to lite file by enter toco retrain command :
toco --graph_def_file=./output/output_graph.pb --output_file=./output/optimized_graph.lite --output_format=TFLITE --input_shape=1,224,224,3 --input_array=input --output_array=final_result --inference_type=FLOAT --inference_input_type=FLOAT
8. Now you can see that the lite file is available and was located on the output folder.
 9.Done !
Next: Port Lite file to Android Phones for Image Classification.
For me, convert Tensor protobuf (.pb) to lite file not as easier as a lot of tried with different converter tools and environments such as codelab, Linux, bazel etc. A lot of problems met before such as failed to compile Toco script, Android App will be crash once run with compiled lite lib.
Anyway, finally, I have succeeded to convert Tensor protobuf (.pb) to lite file and able run properly on Android phones.
Environment: Asus Rog Laptop Strix G running Windows 10 Home
1. Create folder, e.g: TensorTrain_heng
2. Download Python Script below and put inside this folder, "TensorTrain_heng"
i) google_images_download.py : Link
ii) retrain.py: refer the previous tutorial
2. Open command prompt inside this folder: TensorTrain_heng.
3. Download "durian" image file by run this command:
python google-images-download.py --output_directory "fruit" --keywords "durian" --limit 30 --format jpg
3. Download "durian belanda" image file by run this command:
python google-images-download.py --output_directory "fruit" --keywords "durian belanda" --limit 30 --format jpg
4. Rename all Image, example:
From:
To:
6. Run retrain command :
python retrain.py --image_dir=tf_files/fruit --bottleneck_dir=./output/bottlenecks --how_many_training_steps=500 --model_dir=./output/models --summaries_dir=./output/training_summaries/"mobilenet_0.50_224" --architecture="mobilenet_0.50_224" --output_graph ./output/output_graph.pb --output_labels ./output/output_labels.txt --saved_model_dir ./output/saved_model
7. Now you can see that the pb file which located on output folder was ready.
8. Now can convert the pb file to lite file by enter toco retrain command :
toco --graph_def_file=./output/output_graph.pb --output_file=./output/optimized_graph.lite --output_format=TFLITE --input_shape=1,224,224,3 --input_array=input --output_array=final_result --inference_type=FLOAT --inference_input_type=FLOAT
8. Now you can see that the lite file is available and was located on the output folder.
Next: Port Lite file to Android Phones for Image Classification.
Comments
Post a Comment